LOLO Rack Assembly Guide and Video
Thank you for supporting a rider owned and built company!
Now let’s do this!!!
CLICK HERE FOR CURRENT ASSEMBLY GUIDE.


WARNINGS AND ADVISORIES
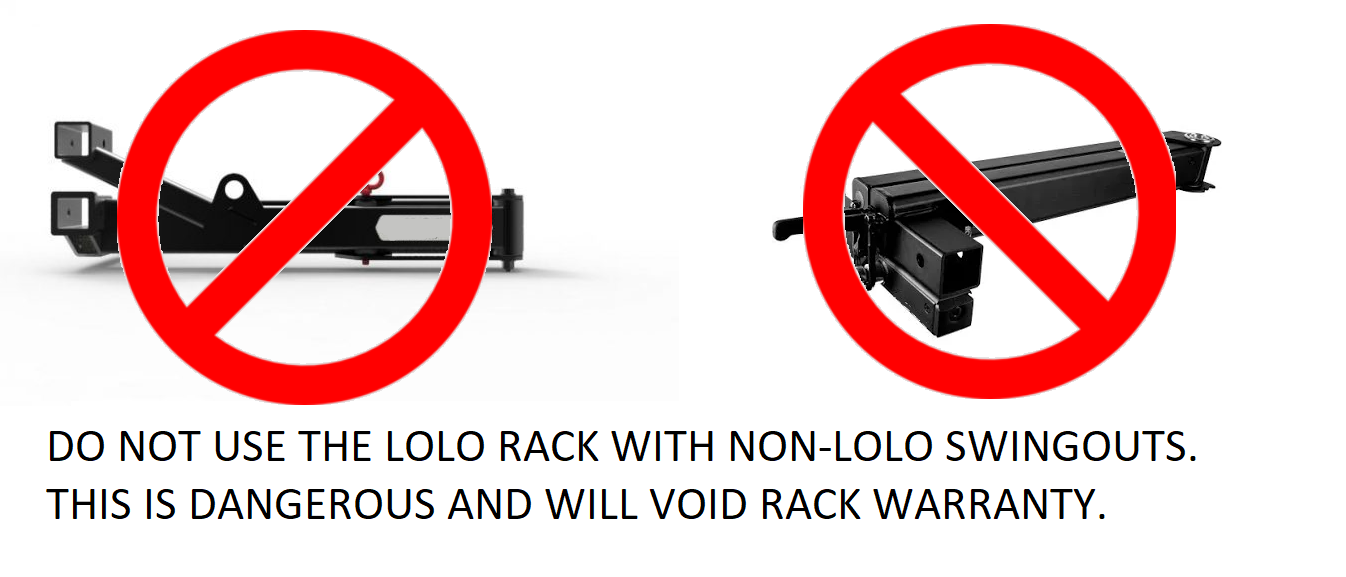
1. DO NOT use this rack with any non-LOLO swingouts, hitch adaptors or extensions as this will jeopardize ground clearance, add wobble and damage parts and pads. This will void the warranty.
2. Use with a class C or larger RV, motor-home is prohibited. Use on any trailer is prohibited. This will void the warranty.
3. Be aware of low clearance sections or roads to avoid bicycle contact with ground. Use caution when crossing ditches and gullies back wheels may hit.
4. Pay attention to overhead height and clearances as wheels may be above the roof line of the vehicle.
5. Check that ALL bolts and nuts are tightly secured monthly.
6. Intended only for class 3 or 4 hitches (2” receiver). Warranty is void if used in a smaller hitch with an adaptor. This is dangerous and is surely overloading the small hitch.
7. Do not operate the rack without either a lock or hairpin clip on the end of the hitch bolt for safety.
8. Do not exceed 40lbs per bike.
9. Remove E-Bike batteries prior to loading.
10. This rack is not intended for rugged off-road use.
11. If you lose the RED pin PLEASE contact Customer service. Do not use common hitch pins.
12. Inspect rubber hose on hooks regularly for wear. Hoses can be rotated or flipped by spraying light oil or soap in and pulling off.
13. Modification or substitution of the rack or any components in any way will void the warranty.
RACK USAGE AND CARE.
1. Load bikes from left to right if you have a full load. Load the center of the racks if not carrying a full load.
2. Load bikes with least amount of handle bar rise (upward curvature) first.
3. Wrap the cord OVER the bars and into the slot on the hook. Stay between the “goal posts” of the hooks. The ball should touch the slot, not the knot. You can double wrap over thin bmx style cross bars or re-tie the knots shorter.
4. Adjust bungee cords so they are tight over the bars and tires. How to tie overhand knot.
5. Secure the front wheel of the bikes with a bungee to keep it from rotating at high speeds.
6. Grease or oil the red pin shaft for ease of use and long life.
7. Remove any accessories from handlebars
that might interfere with hooks. (gps units or lights)
8. Before driving, make sure that no part
of the bikes are interfering with other bikes.
9. Monitor bar hook rubber pads for wear and cuts. You can remove them similar to how you remove slip on bike grips and rotate to a fresh area. The hose is commonly available ½” automotive heater hose.
10. Kids bikes or older bikes with really small bars and shifters may see interference with the shifter cables and bar hooks. We recommend first loosening and rotating the effected shifter so the cables go through the opening. Another
option is to use a pool noodle or other foam to space up the bars so they are
more centered in the hook.
11. For those that live where they salt or treat the roads we recommend washing the rack with soapy water after driving on salty roads and then spraying WD-40 inside some of the holes in all the tubes.